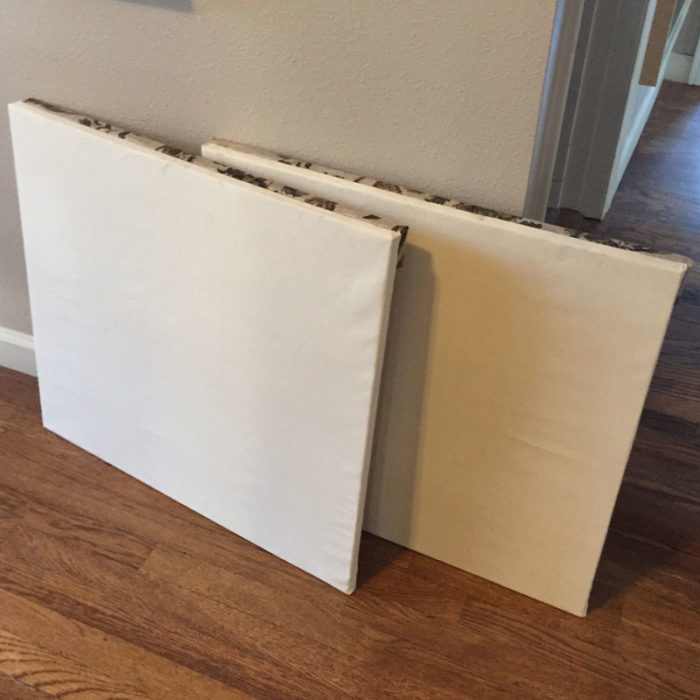
Here is a little rundown on the DIY clay wedging board. Today I made a pair! These additions to my home studio allow me to hand build when I’m away from Peterson’s Art Center. Hopefully they will keep the mess to a minimum.
Before beginning this project for yourself I recommend you familiarize yourself with this short list of necessary materials and tools:
- A board for the wedging surface whatever size you like, preferably 1″ thick.
- A strip of wood for the brace, the length of the wedging surface x 2″ x 1″ thick.
- Sufficient canvas to stretch over the wedging board and the strip.
- Staple gun and staples
- Drill and 8 1 1/4″ wood screws.
While this post is not a detailed tutorial, it will give you the basic idea about how to proceed.
After nosing around for free, suitable wood for the wedging surface and finding none, I shelled out $20 for 4′ x 8′ x 1″ plywood sheathing from Home Depot. They cut the sheet into two 24″ x 22″ rectangles and two 2″ x 24″strips to brace against the table. I already had on hand ample canvas from the Green Gypsy Thrift Shop for the wedging board. I set aside some luscious upholstery fabric from Mom’s stash for the brace.
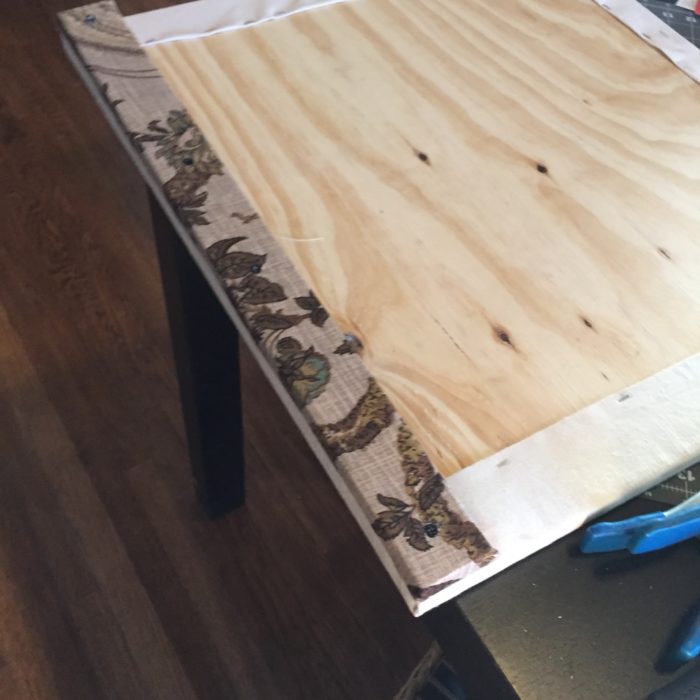
First, I pulled the upholstery fabric taut over the short edge of each brace and secured the ends with a staple gun. Then I wrapped the the long edge around the length of the board. The corners were a little tricky. Since there was no need for perfection, I cut away a square, and tucked in the edges of the short side under the board. I then wrapped the flap of the long side over the short side.
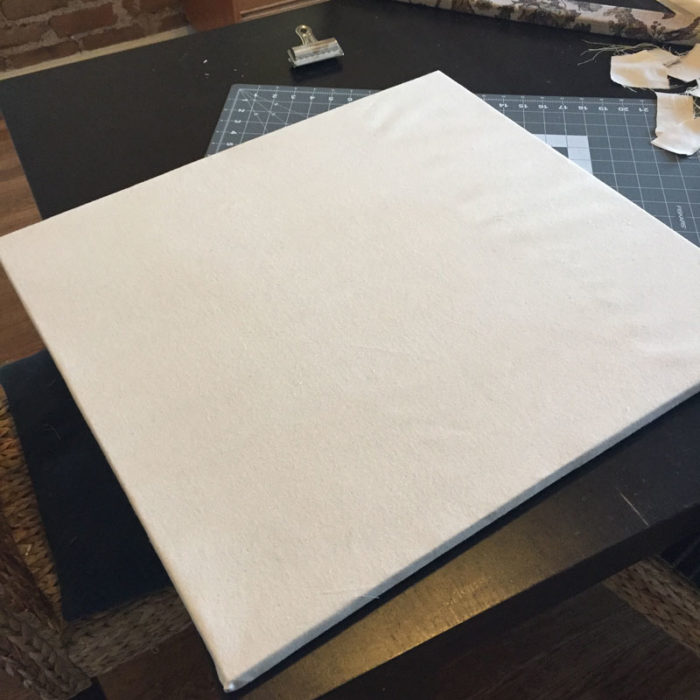
The same basic approach worked for the wedging board. I stretched the canvas over the short edges first, the long edges second, then cut away a square of fabric to wrap each corner.


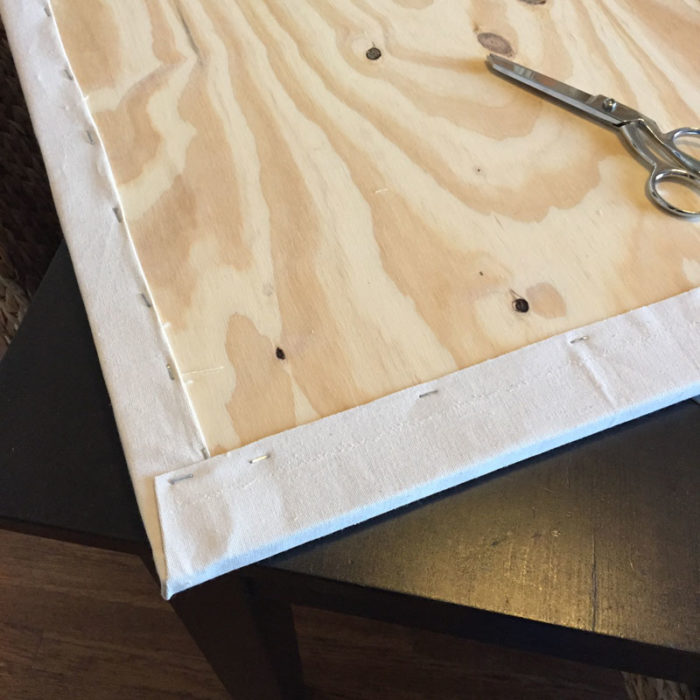
Next, I flipped over the board to examine the stretch. Like a hack plastic surgeon, I gave the canvas a tug and a staple wherever it sagged. Even though I had ironed the old canvas before I started a pucker remained. I let it be.
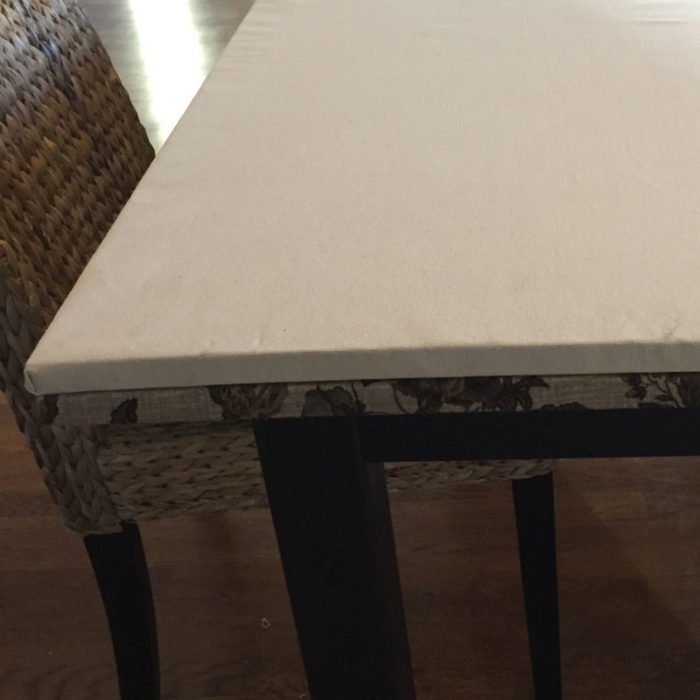
Lastly, I attached the brace to the wedging board. I used clamps to hold the brace in position on the back, predrilled the holes in four places, then finished the attachment with inch-and-a-quarter wood screws. By the way, if you torque the screws so much that they loose their grooves do not touch the screw head immediately after. I’ve heard you can get a nasty burn that way (ouch!).

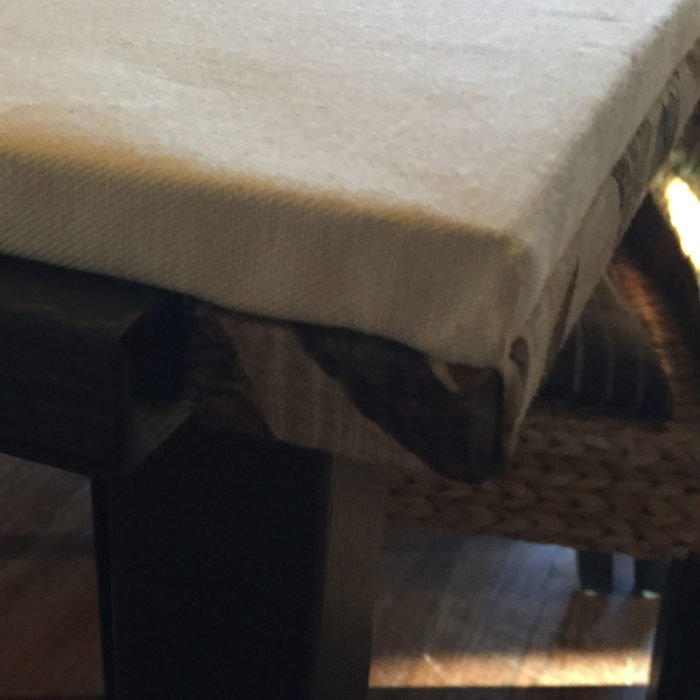
When I flip the board over, the brace rests against the edge of the tabletop. The brace protects the table from scratches while preventing the board from slipping forward as I knead the clay. Why two boards? I use one for stoneware and reserve the other for porcelain to avoid introducing iron into that clay body.
There you have it: a DIY Clay wedging board that even a novice can assemble. My first project will be a couple Sacred Heart wall hangings, along the lines of this one.